Set up OfficeDesk, the Cloud PBX, for employees
You can find general information in our article “What is the OfficeDesk for the Cloud PBX?”
Even if you don’t use the easybell Cloud PBX, OfficeDesks are available in all of our business plans. These provide limited access to the customer portal and phone number management. However, the range of features is slightly limited, and access rights cannot be customized individually. For more information, see the guide “Setting up access to the customer portal for employees (OfficeDesk).”
To set up OfficeDesks with full functionality in the Cloud PBX, please follow these instructions.
1. Access the Cloud PBX
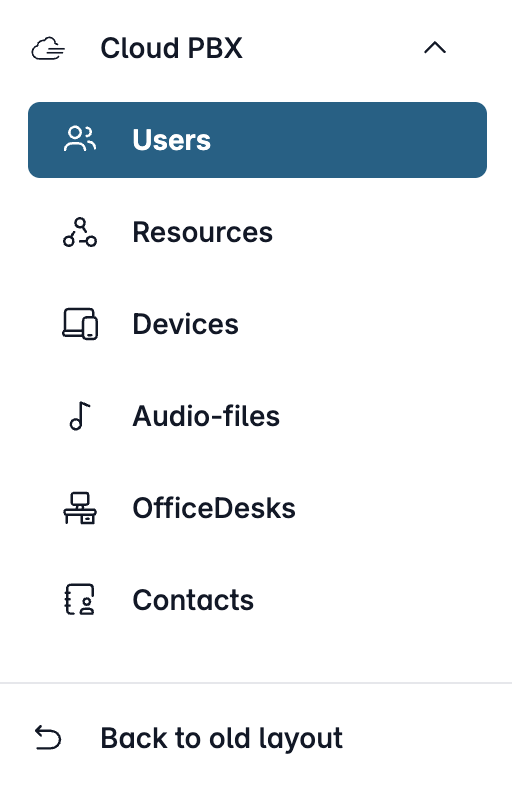
Open my.easybell and click on “Cloud PBX” in the menu bar.
Depending on the function, the Cloud PBX uses two different types of extensions:
- User: person-specific extensions
- Resources: non-person-specific extensions
Please click on the relevant entry in the sidebar.
2. Enter the administration's contact information
If you haven't already done so, you can enter administrative contact information. This information will be displayed in the activation email sent to new OfficeDesk users.
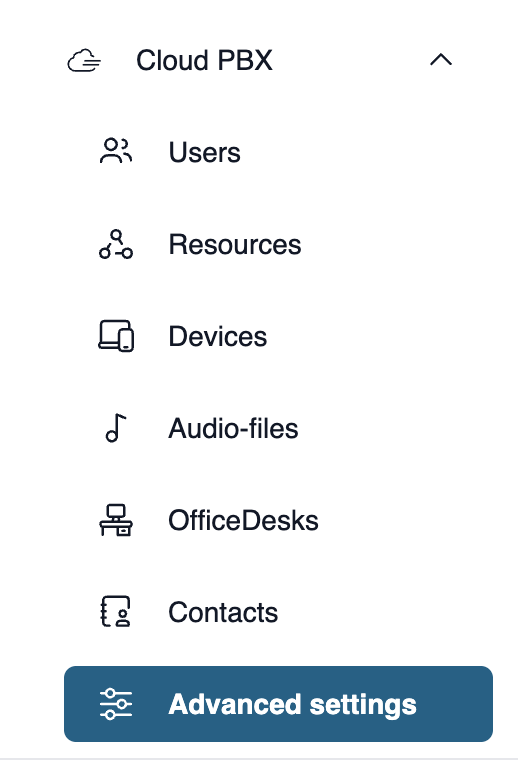
To do this, click "Advanced Settings" under "Cloud PBX" in the page navigation.
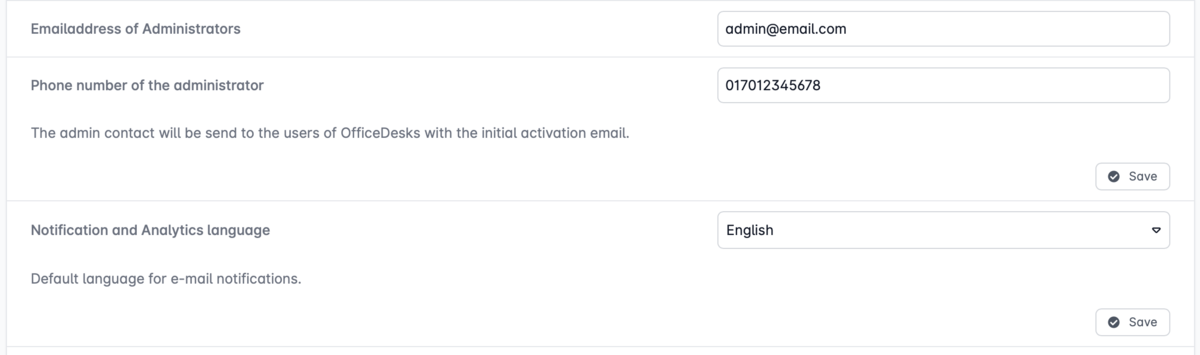
Go to the "Contact and Language" tab and enter the administrator's contact information.
3. Add OfficeDesk
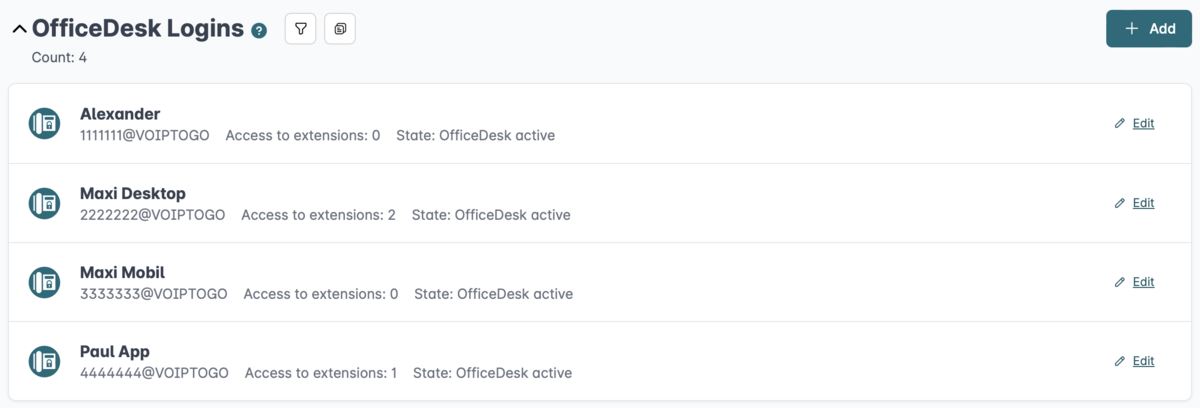
Click on "OfficeDesks" in the page navigation. Then click the "+ Add New OfficeDesk" button on the right.
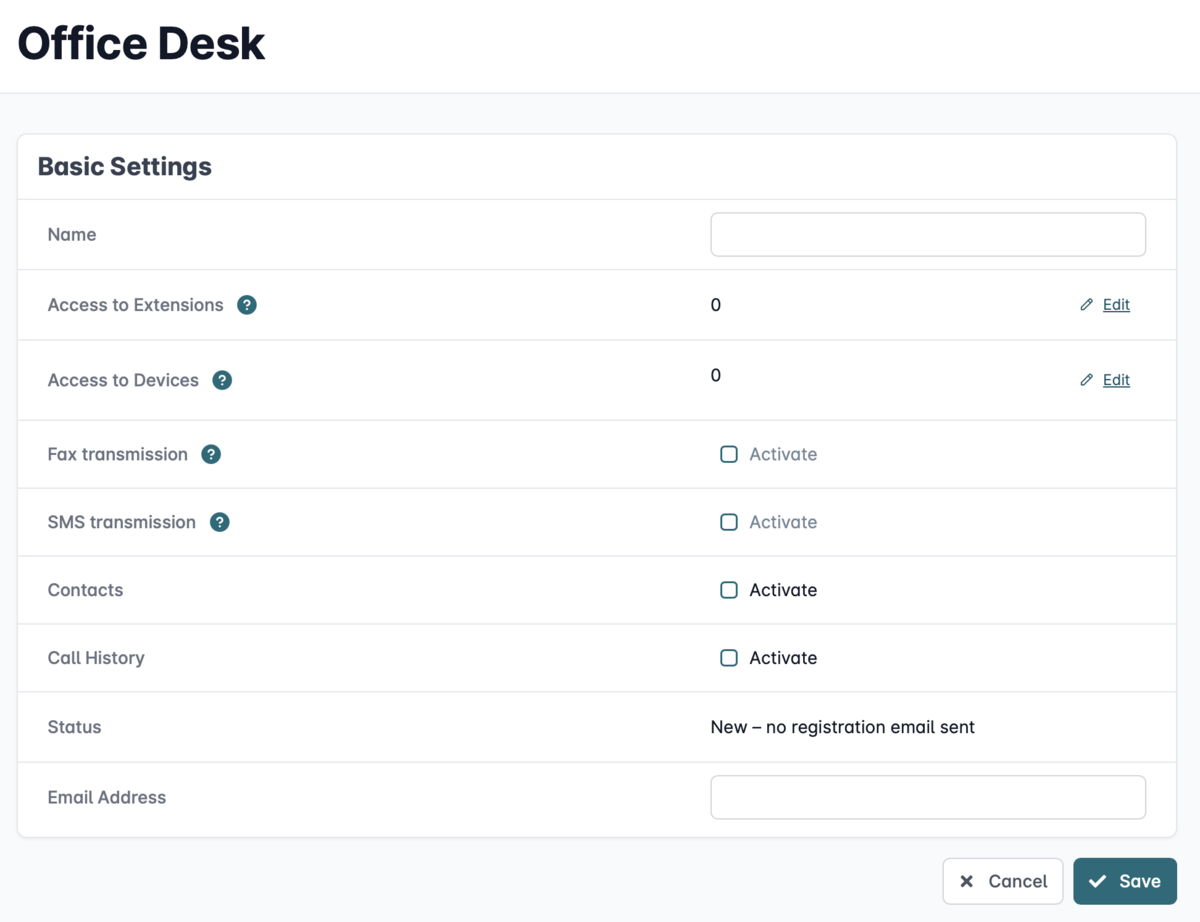
4. Setting up OfficeDesk
Assign the OfficeDesk to a user and decide which extensions and functions they should have access to. You can change these settings at any time if necessary.
Name: Enter the name of the employee for whom you are creating the OfficeDesk account.
The username will be automatically generated from the name and customer number. It will be included in the activation email and requested during login.
Access to Extensions: Click “Edit” on the right to grant access to existing extensions.
Access to devices: Click "Edit" on the right to grant access to existing devices.
Access to fax sending: This feature is only available if at least one extension is assigned.
Access to SMS sending: This feature is only available if at least one extension is assigned.
Access to contacts: You can grant OfficeDesk access to contact management. The employee can delete and add contacts, but these changes are only visible in the respective OfficeDesk. Grant access by toggling the switch so that it is highlighted in color.
View global call list: You can grant OfficeDesk access to the call lists. Note that all call lists can be viewed.
Status: The current status of the OfficeDesk registration is listed here.
Email Address: Please enter the email address of the OfficeDesk user to be set up. An email containing a verification link will be sent to this address. To activate the OfficeDesk, the employee must open the link “To OfficeDesk” and set their own password.
The administrator can also resend this email at a later time, for example, if the password has been forgotten.
5. Use OfficeDesk
The setup and use of the available features in OfficeDesk are identical to those in the standard operation of the Cloud PBX. Provided that the feature is enabled for OfficeDesk, all instructions for the Cloud PBX also apply to OfficeDesks within the Cloud PBX.
Learn more here: How to use the Cloud PBX’s OfficeDesk correctly.