We have completely redesigned our customer portal for you. If the steps described in the guide differ from what you see, you will find a PDF version of the old guide at the end of this article.
Setting up the Cloud PBX
In this article, we’ll explain the logic and structure of a Cloud PBX and provide a general overview of the necessary steps. Each section includes links to additional information.
The Cloud PBX is available in three versions: Basic (free), Classic, and Pro.
Under “Features of our Cloud PBX,” you’ll find a list of the differences. You can easily upgrade your Cloud PBX yourself at any time.
The Structure of the Cloud PBX
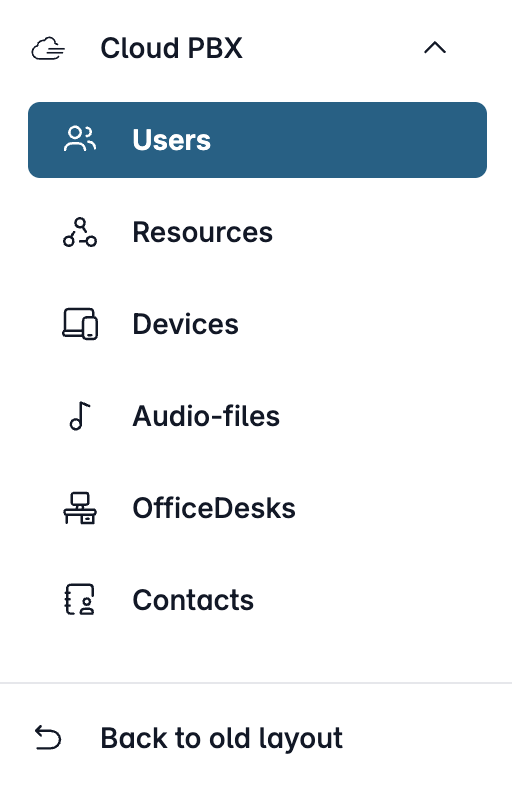
The Cloud PBX is built around two key components:
- Extensions (Users and Resources): External connections
. Here you define phone numbers and reachability from the public telephone network. - Devices: The internal connections
Here you register the IP phones and VoIP apps used in your company.
This separation offers a major advantage. Extensions and devices can then be flexibly connected to one another—a process known as “routing.” And should anything change in your company, you can quickly and easily adjust the assignments at any time.
The following section covers the first basic setup steps.
Setup steps:
1. Assign a phone number to the Cloud PBX
To do this, go to the “Telephone line” section, select the “Phone Numbers” tab, and choose the desired phone number or a range of numbers.
Then click “Assign Connection” and select “Cloud PBX”.
Please confirm your selection by clicking “Assign”. The phone number will then be available in your Cloud PBX.
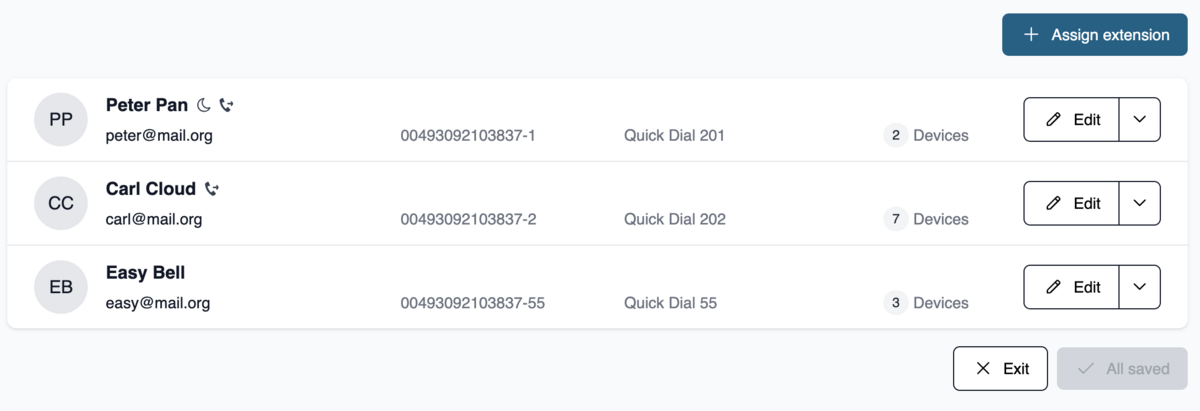
2. Create an extension

In the Cloud PBX, there are two types of extensions: users and resources.
- By “Users”, we mean extensions assigned to specific individuals—that is, an extension assigned to exactly one person.
- By “Resources”, we refer to extensions and services that can be shared by multiple people.
As soon as you add a new user or resource, you must assign a unique phone number.
For resources, you can choose between different types of extensions.
For example: interactive voice response (IVR), conference call, or fax reception. You can also set up call forwarding and activate voice mail.
You can find detailed instructions under “Creating Extensions / Call Groups in the Cloud PBX.”
3. Create a device
Next, your IP phones or other VoIP solutions will need SIP credentials for the Cloud PBX. To generate these, please click "+ Add Device" in the "Devices" section.
Here, you can not only set up caller ID but also assign one or more extensions whose calls will later be routed to this device.
You can then generate the SIP access credentials, which you can use to connect IP phones, software, apps, or other SIP devices.
We explain all options in detail in “How to Set Up Devices in the Cloud PBX.”
Set up IP phones automatically (ACS)

If you use IP phones from Gigaset, Htek, Snom, or Yealink, you can easily have the phone provisioned automatically using the ACS feature. After that, all you need to do is restart the device, and it will connect to the Cloud PBX on its own.
Learn more here: “Automatically setting up devices in the Cloud PBX”

4. Connect the extension and the device
In Step 2, you set up an extension and thereby established access to the public telephone network.
In Step 3, you created device accounts whose SIP credentials allow your phones to log in to the Cloud PBX.
If this has not already been done, these components must now be linked together. There are two ways to do this:
For the resource/user: Click “Edit” next to the desired resource/user, then switch to the “Devices” tab.- For the respective device:
Click “Edit” next to the desired device. Then switch to “Incoming Calls” and click “Assign Extension.”
Adjust the assignment later
You can quickly and flexibly adjust or expand the assignments at any time. Because extensions (users or resources) and devices are separated, both SIP credentials and phone numbers remain unchanged—only the connection or routing between these components is modified.
As your team grows, simply add new devices to existing call groups. If roles change, remove assignments that are no longer needed or assign new devices to the respective extension.
Read more in our article “Cloud PBX: Connecting Extensions & Devices.”