We have completely redesigned our customer portal for you. If the steps described in the guide differ from what you see, you will find a PDF version of the old guide at the end of this article.
Set Up and Use Advanced Call Forwarding in a Cloud PBX
General Configuration
1. Open the Cloud PBX
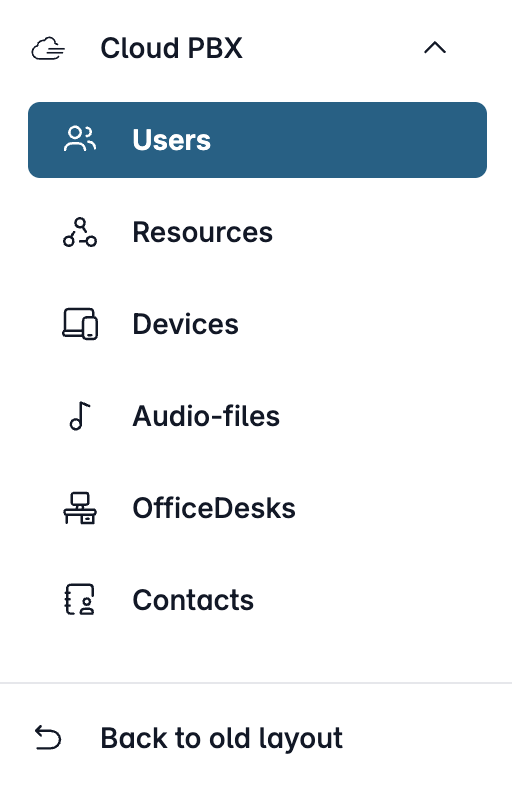
Open my.easybell and click on “Cloud PBX” in the menu bar.
Depending on the function, the Cloud PBX uses two different types of extensions:
- User: person-specific extensions
- Resources: non-person-specific extensions
Please click on the relevant entry in the sidebar.
2. Edit extension
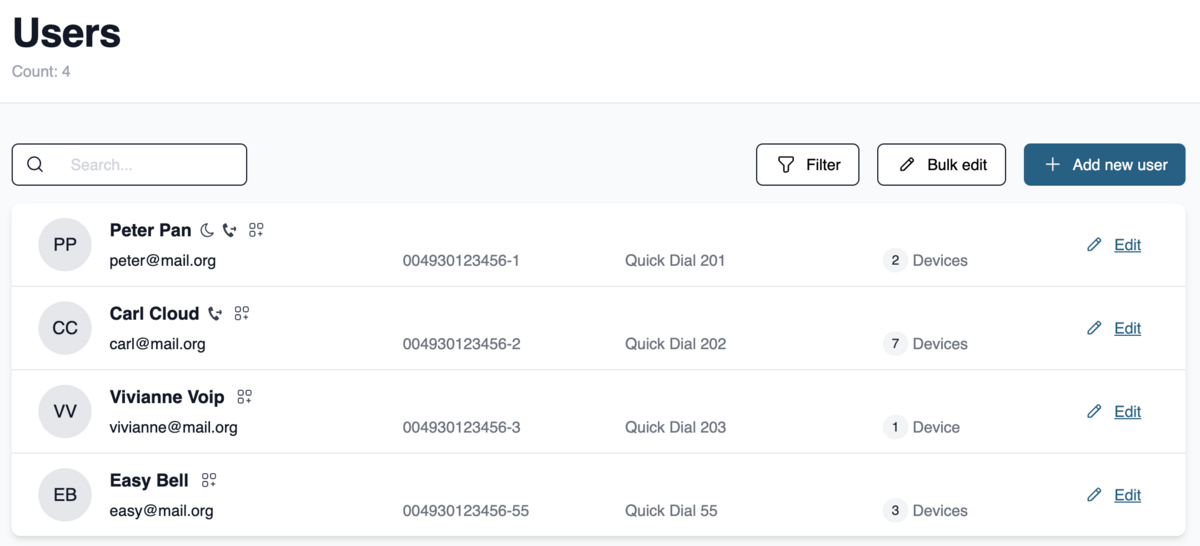

In the “User” or “Resources” section, please select the extension you want to edit and click the pencil icon next to it.
3. Access Advanced Call Forwarding

Go to the “Call Handling” tab.
Click the pencil icon next to “voice mail / call forwarding.” Here you’ll find the settings for basic call forwarding.
To set up more complex call forwarding, please click on “Advanced Call Forwarding.”
4. Set up advanced call forwarding

Advanced call forwarding consists of one or more profiles. These profiles specify which devices should be contacted using which routing sequence. In the next step, specific time slots are then assigned to these profiles.
Please click on “New Profile” to create a new profile.
5. Create a profile

Please enter a descriptive name for the “Profile Name” here. You can also select a color to make it easier to distinguish between profiles later on. You can also assign custom hold music to a profile and play a product or company jingle, an announcement about business hours, or your favorite music instead of the standard Easybell greeting. Then please click on "Add Step" to create individual steps, which will then be processed in sequence when an incoming call is received.
Step 6: Create
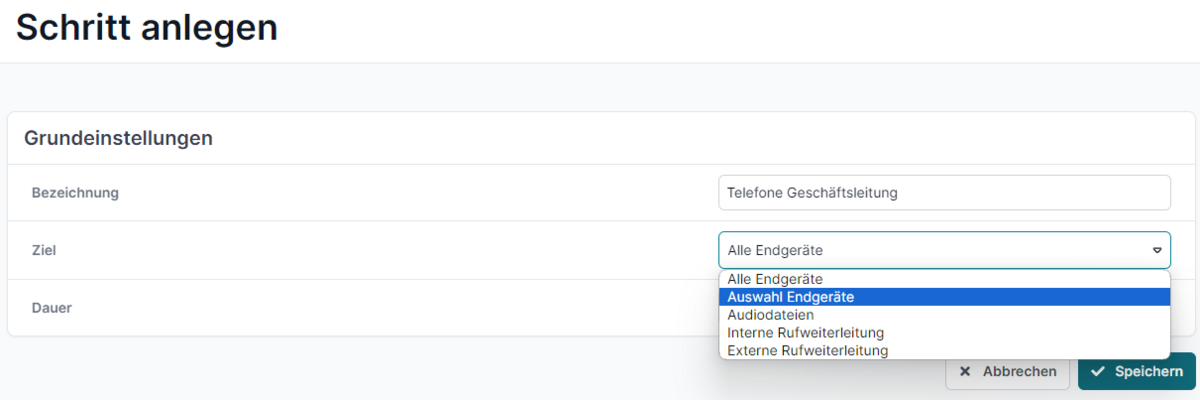
Name
The individual steps are also given their own names, which are used for later administration.
Target
Next, the destination for this step must be specified. Various options are available for this: All devices: All devices assigned to the extension ring simultaneously.
Select devices: Choose from the devices assigned to this extension.
Audio files: The call is forwarded to an announcement or the extension’s voice mail.
Internal call forwarding: You can select another extension within the Cloud PBX to which the call is forwarded. External call forwarding: You can specify an external phone number to which the call is forwarded. Please note that this option uses an additional trunk line.
Duration
Additionally, a forwarding duration in seconds is set. This sets the time for which this step is executed. After this time has elapsed, the system proceeds to the next step in the list.
Note: The "Infinite" checkbox causes an endless signaling loop for the current step. This is automatically selected for the "Announcement/voice mail" and "Internal Call Forwarding" options, as further forwarding is not necessary here.
Click “Save” to apply the settings.
7. Optional: Create additional steps
You can extend the sequence of steps as needed using “Add Step.” In our article “Application Examples for Advanced Call Forwarding in the Cloud PBX,” we explain various possible applications.
Note: The sequence of steps is displayed in the call distribution. No further signaling can occur after a step with a duration of “Infinite.” If any steps are unreachable, they are displayed in gray. To change the order of the steps, you can sort them using the orange arrows.
8. Profile Assignment
Once all the steps in a profile have been created, the only thing left to do is to "assign the profile." This determines which profile is active at what time.
Profiles can be assigned in both list view and calendar view.
Important: During times for which no profile has been selected, the extension is accessible without restriction and simultaneously via all devices!
List view


In the "List View," please first click on "New Time Assignment." A new window will open where you can select the relevant profile, one or more days, and the start and end times during which the profile will be active.
Click “Save” to apply the changes.
Calendar view

Alternatively, you can select the profiles in the "Calendar View" and configure them by checking the time slots.
If you made a mistake, simply select the corresponding checkmarks and then click “Delete.”
9. Complete the setup
Click "Save" to complete the configuration. You can make changes at any time later.