We have completely redesigned our customer portal for you. If the steps described in the guide differ from what you see, you will find a PDF version of the old guide at the end of this article.
Assign phone numbers to a connection
In our business plans, the phone settings are divided into "Phone Numbers" and "Connections":
- Phone numbers are your connection to the telephone network—that is, the phone numbers assigned to you that customers and partners use to reach you.
- Connections are the link to your business and your hardware. This separation has the advantage that you can flexibly adjust the configuration of your connections to suit your needs at any time.
Link phone number
1. Open Phone Settings
First, please go to my.easybell.
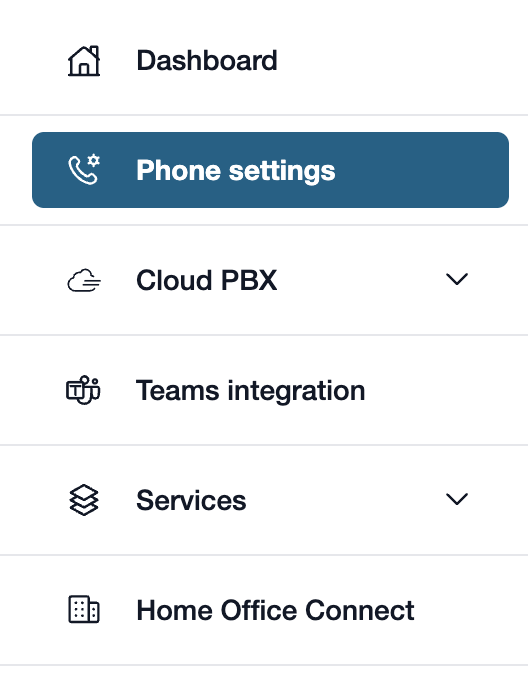
There, please click on “Phone Settings” in the left-hand menu bar.
Alternatively, you can also click on “Manage Phone Numbers” directly in the my.easybell dashboard.
2. Open the connection
Do you have a private customer plan? If so, please click on “Private”!

The phone settings for businesses are divided into two tabs: Connections and Phone Numbers.
In the Connection Overview, please click on the connection whose details you wish to view.
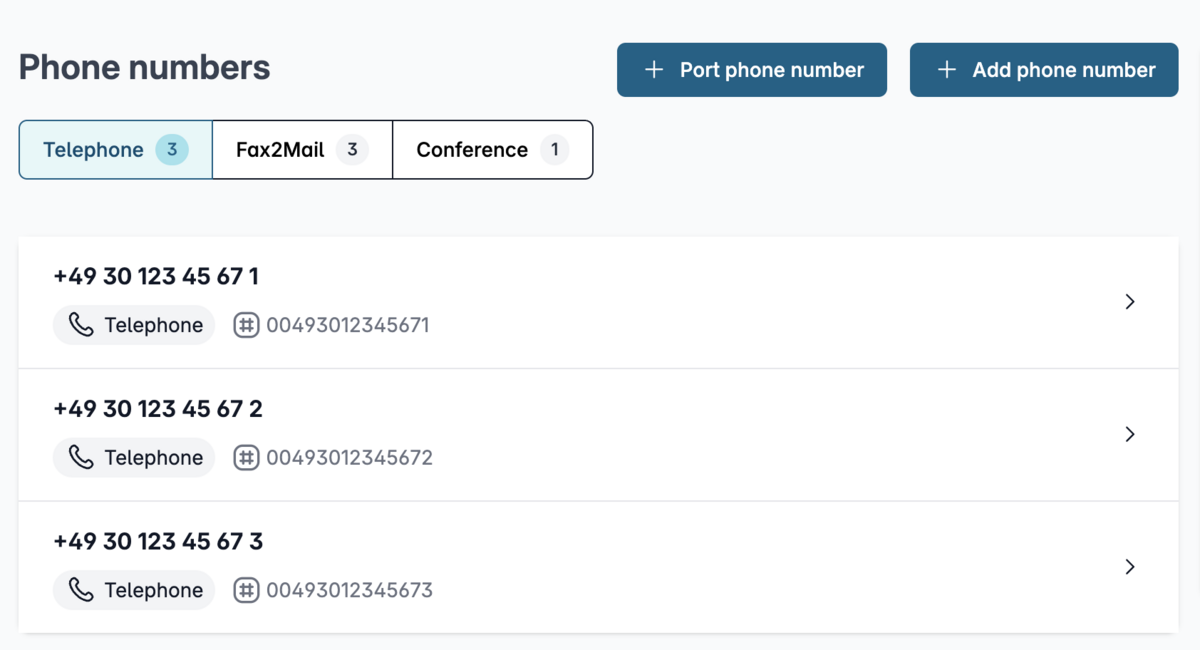
You will see an overview of your telephone numbers.
Please click on the one whose details you wish to view.
3. Assigned phone numbers
At the very bottom of your connection details, you will find the "Phone Numbers" section.
This section lists all phone numbers that are already assigned to the connection. Using the "Assign Phone Numbers" button, you can assign a new individual phone number, a range of phone numbers, or even a single extension within the range to the connection.
4. Assign a phone number
After you click "Assign Phone Numbers," a selection window opens with two options:
- Single phone number: Use the drop-down menu to select one of your existing phone numbers and then confirm by clicking “Next.”
- Number block: Select the number block to be assigned to the connection. If you want to assign only a specific extension from the block, please select “Single extension” and enter the desired extension in the field provided.
Then confirm by clicking “Next.”
5. Select a connection
In the next step, you can change the destination connection again. To do this, select the desired connection from the drop-down menu to which the phone number should be assigned.
Alternatively, you can create a new connection by clicking “Add New Connection.” Enter an appropriate name and select the mode for the new connection.
Save by clicking “Add.”
6. Assign the phone number
Finally, click "Assign" to assign the selected phone number, range of numbers, or individual extension to the connection.
The phone number is now assigned to the connection and appears in the list of assigned phone numbers.
Assign a phone number to another line
A phone number must always be assigned to a connection. To use a phone number in another connection, you can simply assign it to that connection as described here.