Connecting Microsoft Teams with an easybell SIP Trunk via the Teams Connector
Requirements
Here's what you need to get started with the Teams Connector
1. Microsoft licenses
For the initial setup, an extra account is used that must have all the necessary licenses as well as administrator rights for "Microsoft Teams Phone". This account can be deleted after the initial setup and the licenses reassigned.
The most common licenses can be found in the following table, others e.g. for education and government institutions can be found in our article about Microsoft Teams licenses.
| Basis | Version | additional Add-on |
|---|---|---|
| Microsoft 365 Business | Basic / Standard / Premium | Teams Phone |
| Microsoft 365 | F1 / F3 | Teams Phone |
| Office 365 | F3 | Teams Phone |
| Microsoft 365 / Office 365 | E1 / E3 | Teams Phone |
| Microsoft 365 / Office 365 | E5 | Teams Phone incl. |
2. No parallel use of similar solutions
The Teams Connector can only be reliably billed if no other solutions are used with the Microsoft tenant to connect external SIP trunks to Microsoft Teams.
3. Some Patience
We recommend that you read and follow each section of these instructions carefully to avoid complications with your setup.
In general, linking a trunk with Microsoft Teams is done within a few minutes. However, in some cases, it can take a significantly longer time amount, until your phone numbers are usable within Teams. Numerous setup steps are taken during and after the installation of the Teams Connector, which must be processed by and coordinated with Microsoft. In some cases, according to Microsoft, this can take up to 24 hours.
Installation
1. Call up customer portal
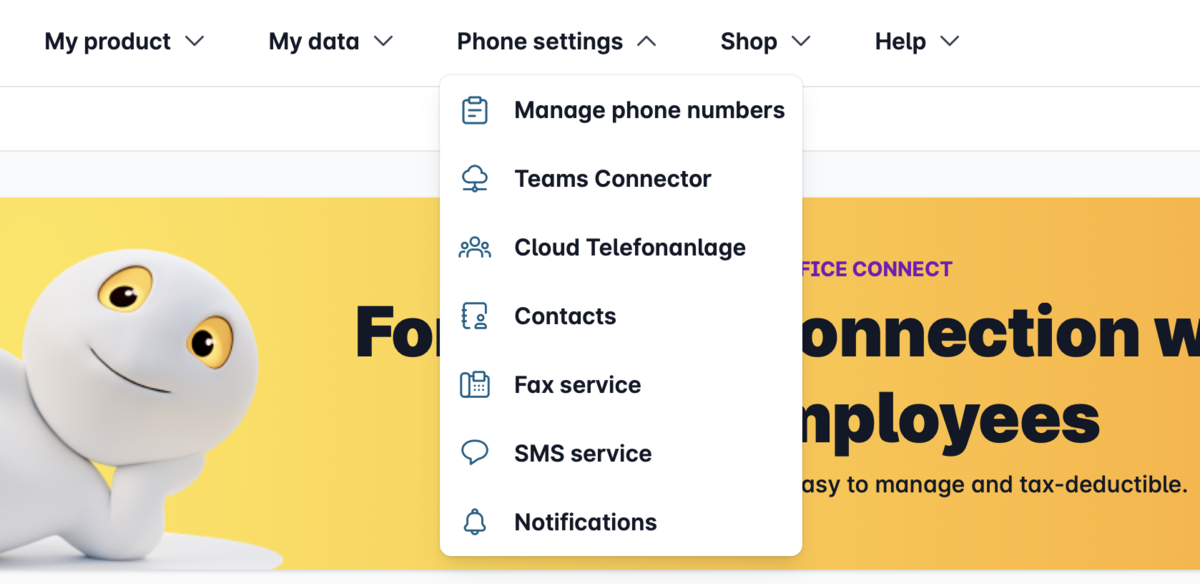
Open your customer portal and click "Phone settings" → "Teams Connector". The text may be displayed in gray before an order is placed.
If you have already booked the Teams Connector, you can continue with step 3.
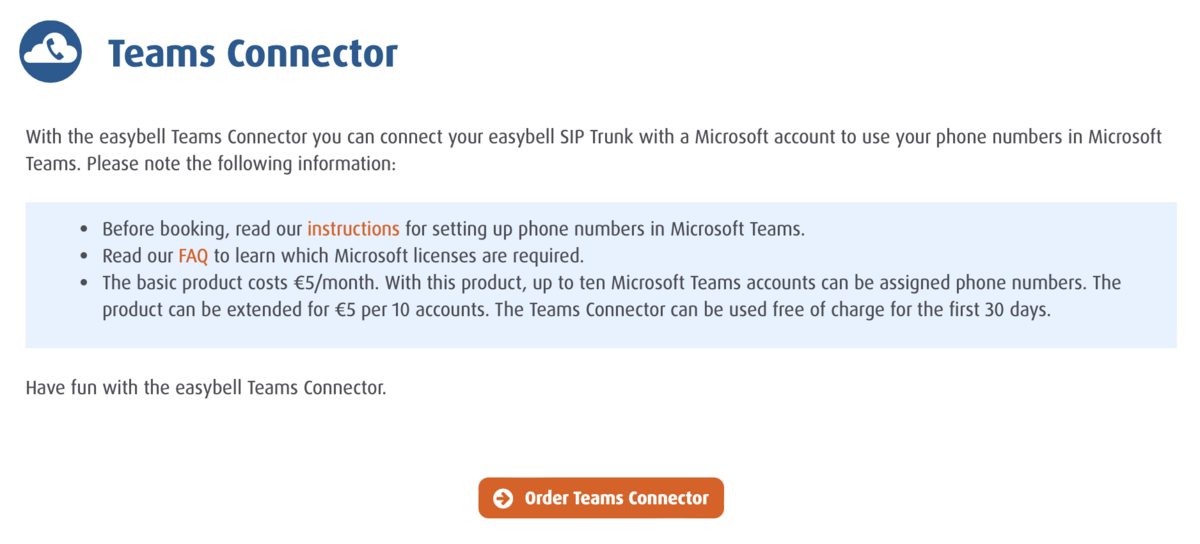
2. Order Teams Connector
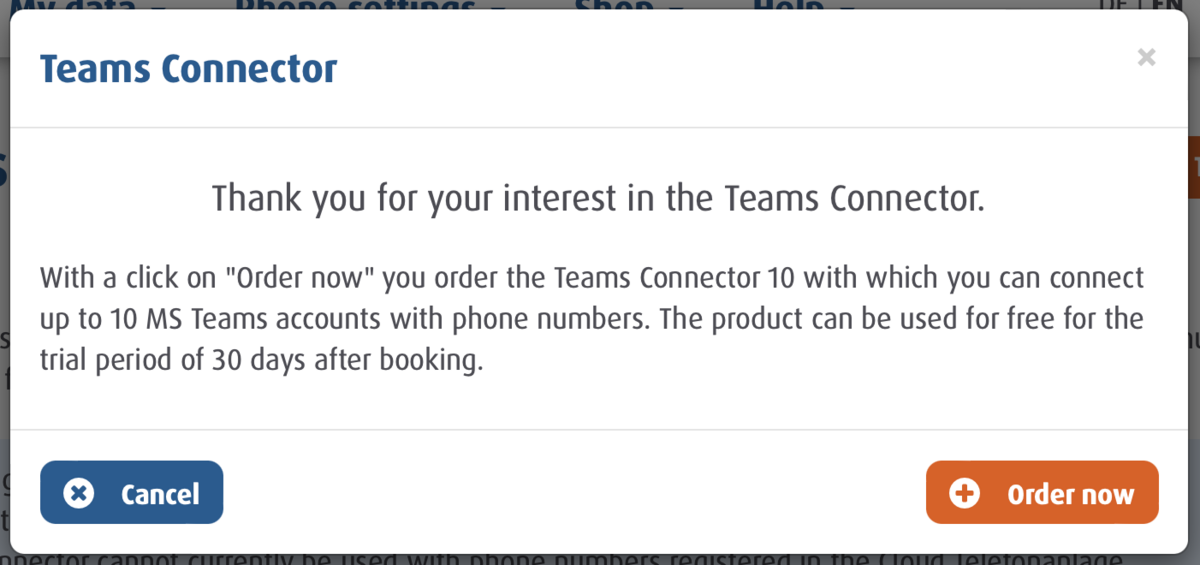
Before ordering, you will see all the important details about the product once again. First, please click on "Order Teams Connector" and, if you agree, on "Order now".
Then start the Teams Connector again and confirm that you have taken note of the requirements.
3. Overview of the SIP trunks
Once you have started the Teams Connector, you will be taken to the overview page with a list of available SIP trunks. Please note that only phone numbers that are set to "Trunk" mode are displayed.
Alternatively, you can also connect Microsoft Teams to devices of the easybell Cloud Telefonanlage or to a SIP trunk of other providers.
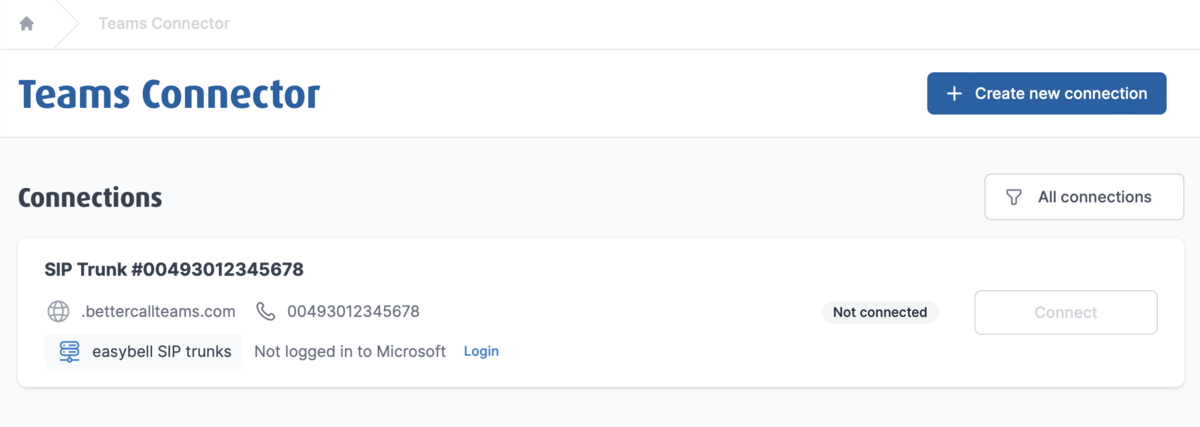
4. Prepare connection
Now click on "Login" for the trunk that you want to connect to Teams. A pop-up window from Microsoft opens, in which you can enter your Microsoft access data.


If the login was successful, the button "Request permissions for Teams Connector" will appear instead, please use it next.

If this step was also successful, the "Connect" button will be enabled.
5. Automatic setup
Please click on "Connect" to start the automated setup. The status changes to "Connecting ...".

For a detailed overview of the setup steps, click "View Status" next to the phone number. Once step 10 of 10 is complete, the SIP Trunk and Microsoft Teams are connected.

After the automatic setup has been completed successfully, the status of the connection in the overview changes to "active". In addition, a status e-mail is sent to the stored address.
6. Manage users
Please click on the arrow next to "Manage SIP Trunk" in the overview of connections and then on "Show details".
Under "Manage users" you will see an overview of all users set up in Microsoft Teams.
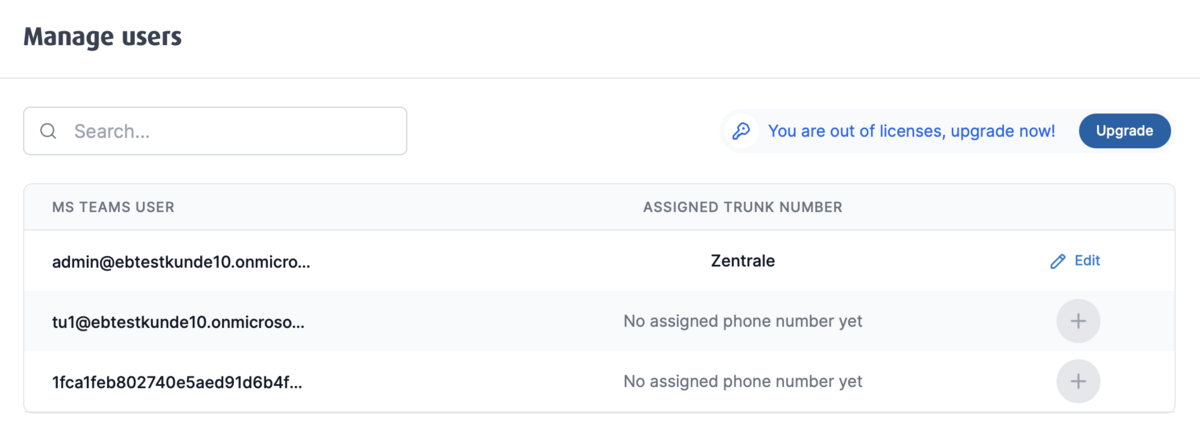
7. Assign phone number
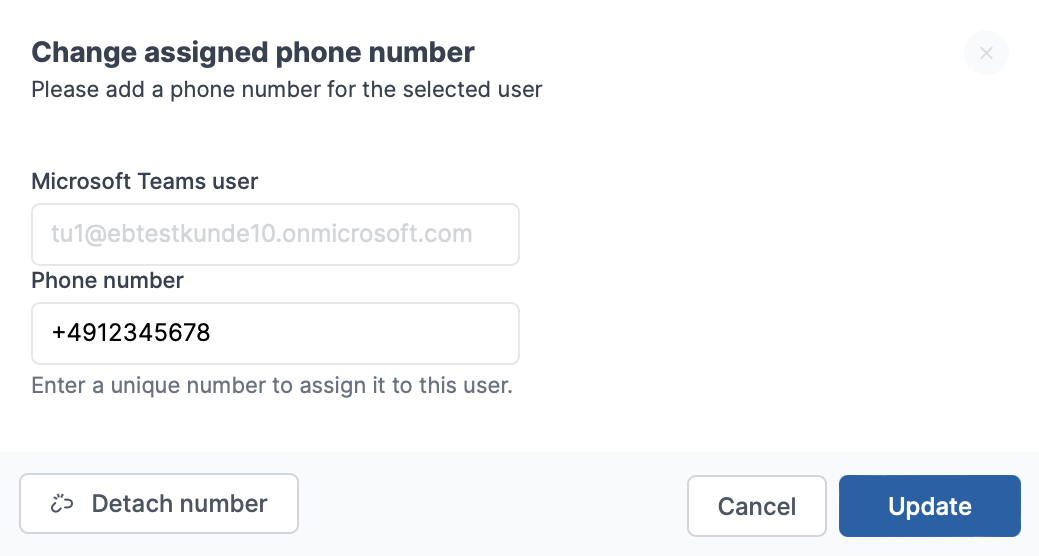
By clicking on the plus sign next to a user, you can assign a phone number. This must be entered in the format E.164 (+4930 ...).
Alternatively, you can also change the phone number or remove it completely.
Afterwards please click on "Next". After a short time, the phone number will be visible in the user overview.
Tip: Microsoft Teams does not allow a user to have multiple extensions. You can partially work around this restriction with call forwarding.
8. Set up CLIP no screening
The "CLIP no screening" function allows the telephone system to determine which phone number is displayed for outgoing calls. This is necessary, for example, so that an extension's number is displayed instead of the trunk's main number. To do this, simply follow these few steps in your customer portal:

- Navigate to "Phone settings" → "Manage phone numbers".
- Then select the trunk that is used with Microsoft Teams and click on the gear icon next to "Calling Line Identification (CLIP)".
- For "Call number transfer to field", please select "From- Display (default)". Read more in our post "Why is no extension displayed for outgoing calls via Microsoft Teams?".
The outgoing extension number should now already be signaled.
If not, please check the settings in the Microsoft Teams Admin Center under "Voice" → "Caller ID policies". Select a policy and adjust the setting for "Replace the caller ID with":
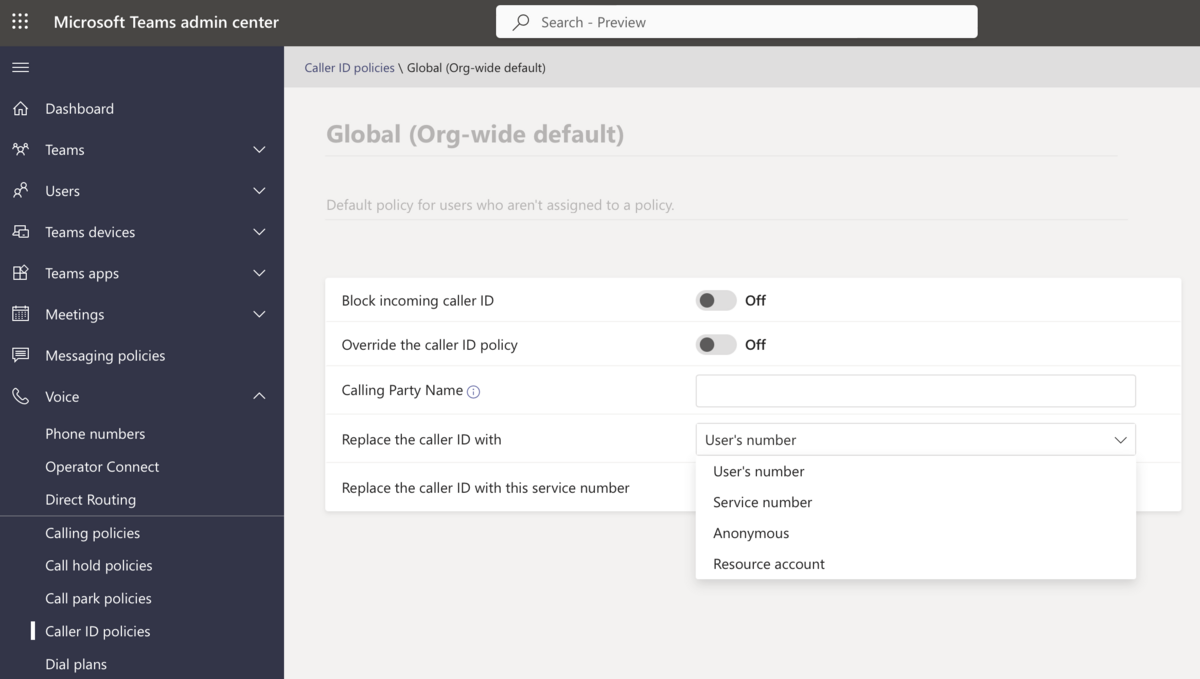
- User's number: Sends the phone number that was also assigned to the respective user inbound.
- Service number: Can only be used with Microsoft call plans.
- Anonymous: Suppresses the outgoing number.
9. Finalize setup
Congratulations! The basic setup is now complete.
According to Microsoft, it can take up to 24 hours in individual cases until the phone numbers can be used in Teams.