We have completely redesigned our customer portal for you. If the steps described in the guide differ from what you see, you will find a PDF version of the old guide at the end of this article.
Set up voice mail
With Easybell, the voice mail is technically implemented via call forwarding. This means that in order for callers to reach your voicemail, call forwarding must be enabled.
In this guide, we’ll show you how to set up this forwarding so that calls are directed to your voice mail when you’re unavailable, the line is busy, or after a certain amount of time. This way, your voice mail works just as usual—only via a flexible forwarding rule.
If you are using the easybell Cloud PBX, please refer to the guide “Setting up Call Forwarding in the Cloud PBX.”
1. Open Phone Settings
First, please go to my.easybell.
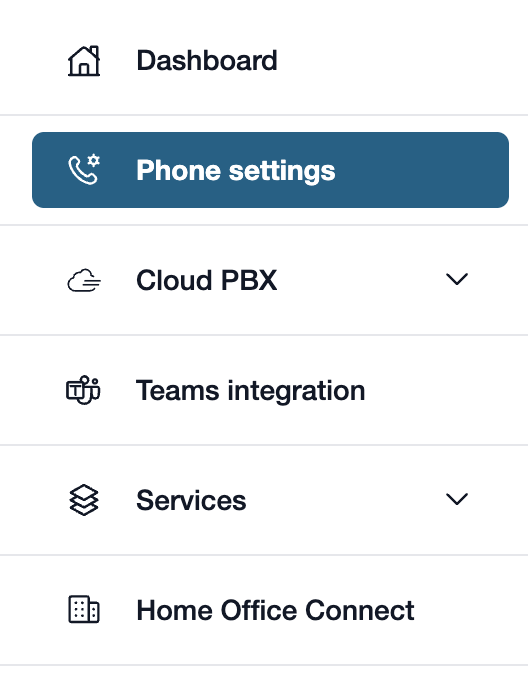
There, please click on “Phone Settings” in the left-hand menu bar.
Alternatively, you can also click on “Manage Phone Numbers” directly in the my.easybell dashboard.
2. Open the connection
Do you have a private customer plan? If so, please click on “Private”!

The phone settings for businesses are divided into two tabs: Connections and Phone Numbers.
In the Connection Overview, please click on the connection whose details you wish to view.
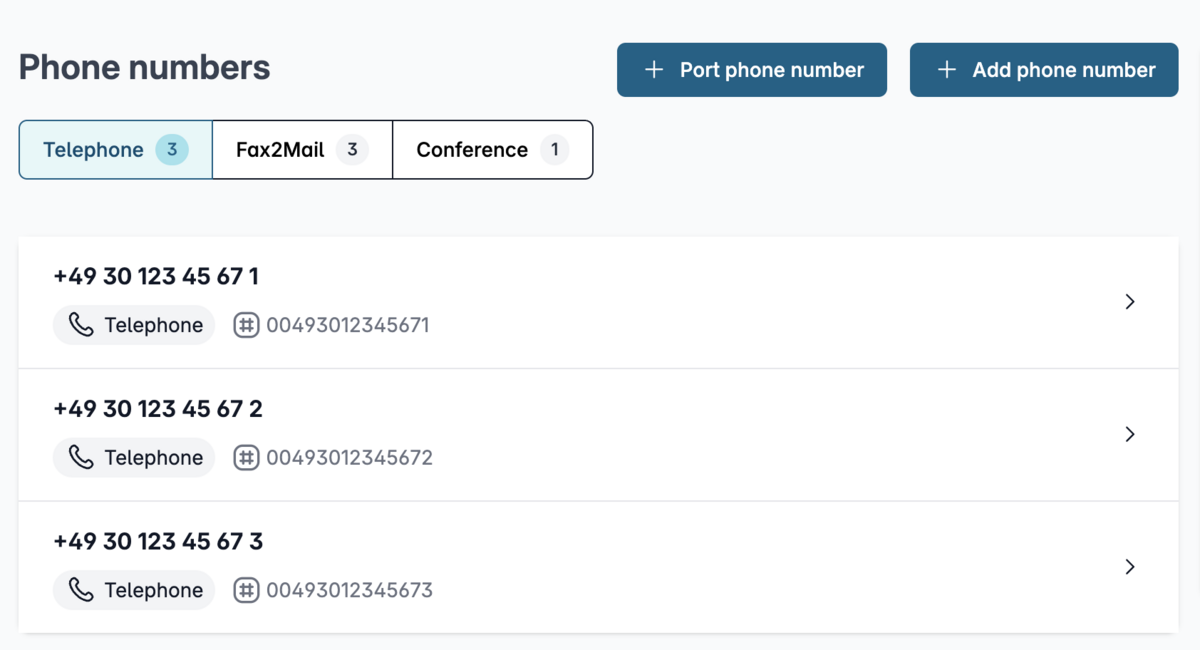
You will see an overview of your telephone numbers.
Please click on the one whose details you wish to view.
3. Customize the configuration

In the details view, you will see an overview of the settings.
Please scroll to the "Configuration" section and click the "Change" button to the right of it.
4. Set up call forwarding
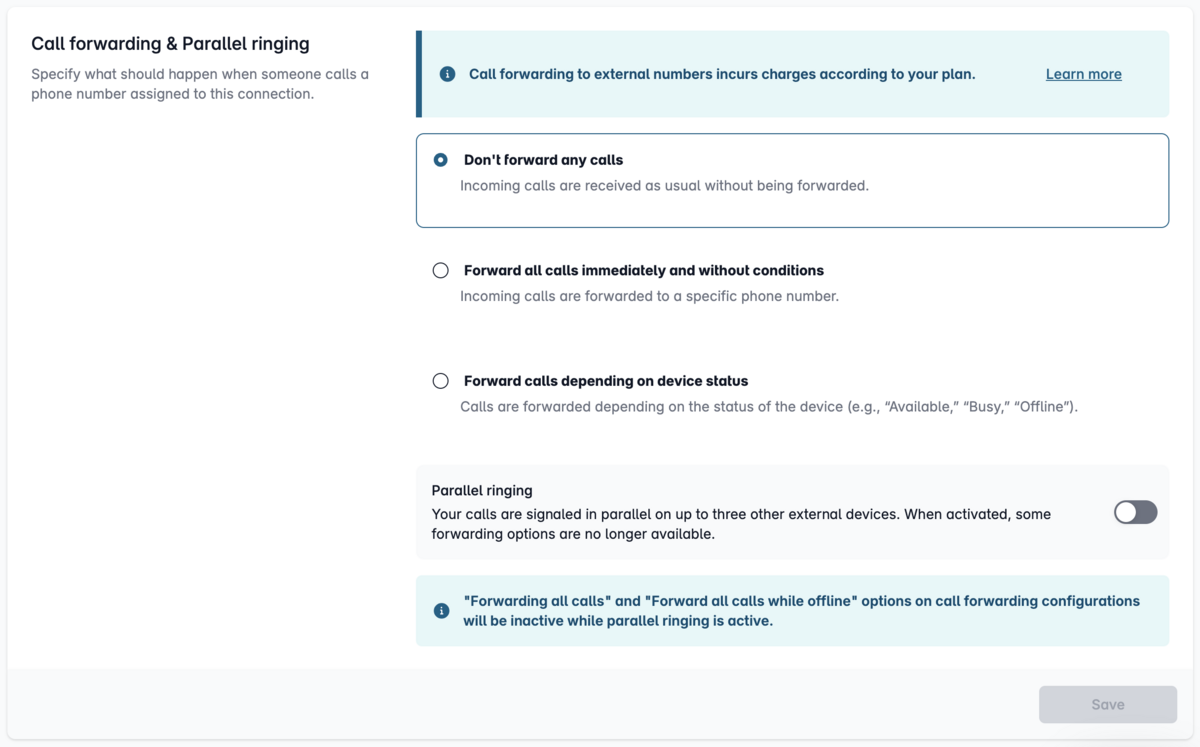
Scroll down to the “Call Forwarding & Parallel Ringing” section.
In the settings, you can choose from several call forwarding options, which we explain below:
- Do not forward calls
- Forward all calls immediately and unconditionally
- Forward calls depending on the device status
Additionally, you can set up parallel ringing. In this case, a call is not only signaled on devices where this phone number is configured, but also on up to two additional phone numbers.

4.1 Do not forward calls
You cancel call forwarding, and calls will no longer be forwarded.
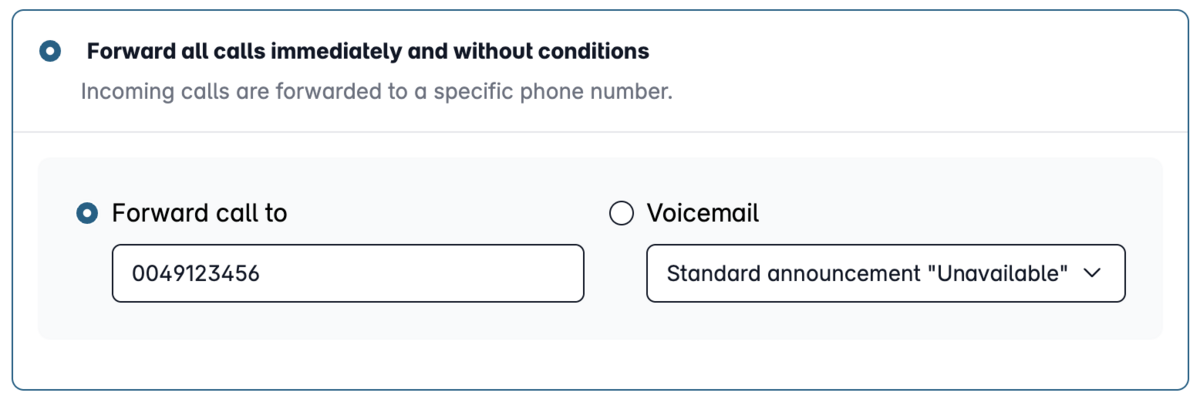
4.2 Forward all calls immediately (Unconditional call forwarding)
All calls are immediately forwarded to the voice mail.
4.3 Forward calls based on device status

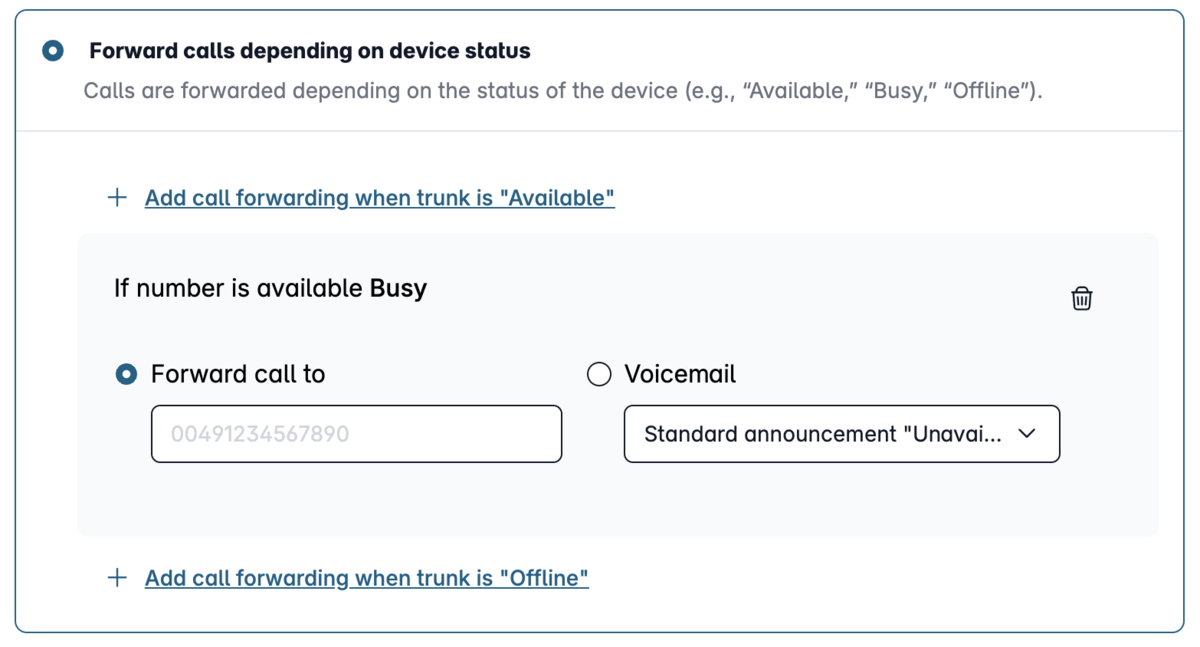
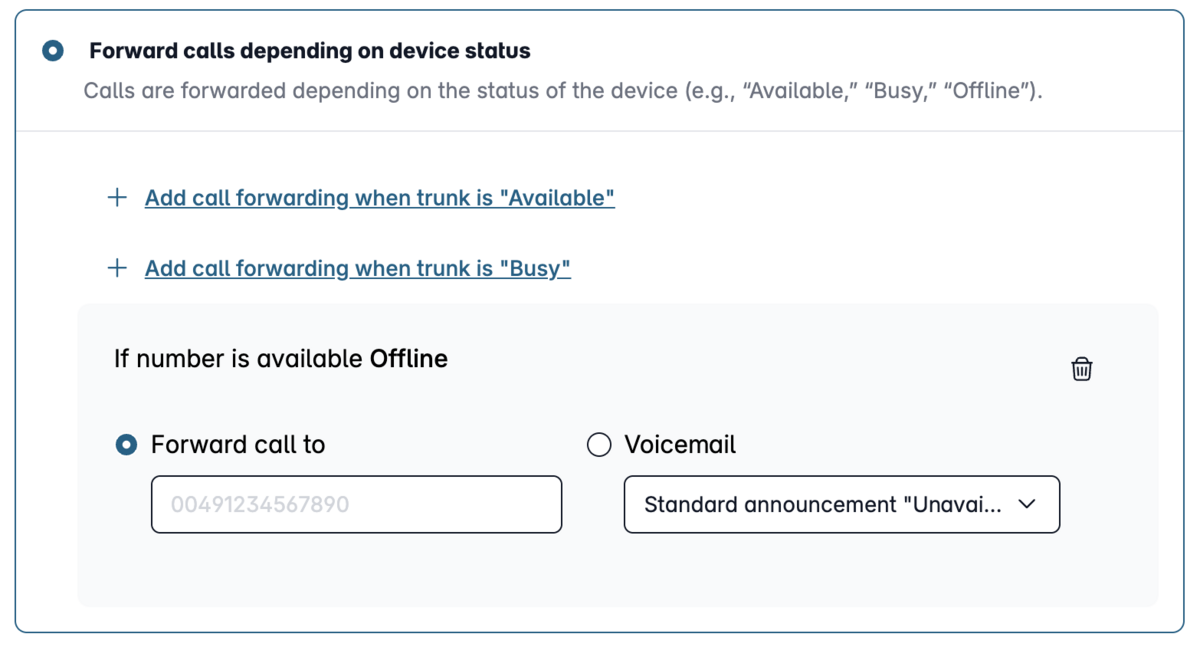
There are three different statuses:
Available:
This status applies when your device has successfully registered with the phone number and is not currently on a call.
Busy:
This status applies when your device has registered with the phone number but is currently on a call or set to Do Not Disturb.
Offline:
This status applies when no device is registered to the phone number. This is either because it has been turned off or because a connection error has occurred.
Note: This mode cannot be used in combination with the Easybell app, as the push server used by the app is permanently online—even when the device is not connected to the internet.
For each status, you can define whether calls should be forwarded to voice mail or a phone number. Of course, you can also specify that nothing happens for a particular status.
5. Complete the setup
To save your settings, please click "Save."
Your voice mail has been successfully activated. If you ever want to deactivate voice mail later, click “Do not forward calls.”
Would you like to set up a greeting for your voice mail? In the article “Set up my voice mail greeting,” we’ll show you how to do it quickly and easily.