We have completely redesigned our customer portal for you. If the steps described in the guide differ from what you see, you will find a PDF version of the old guide at the end of this article.
Set up a greeting for my voicemail
Check out our detailed guide to learn how to set up your voice mail step by step.
1. Open Phone Settings
First, please go to my.easybell.
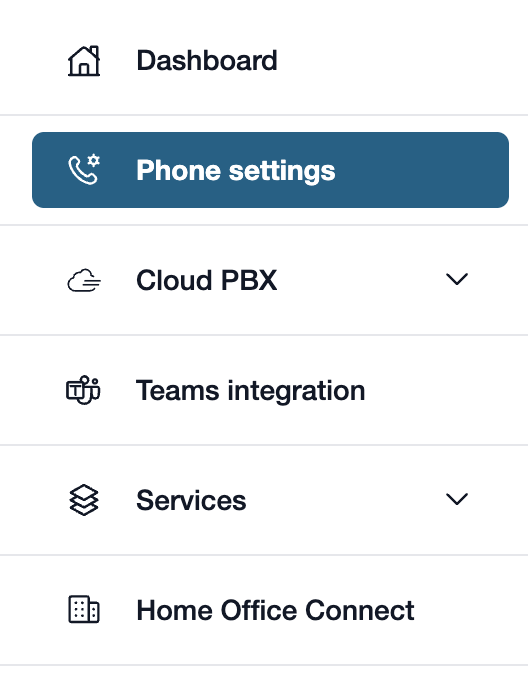
There, please click on “Phone Settings” in the left-hand menu bar.
Alternatively, you can also click on “Manage Phone Numbers” directly in the my.easybell dashboard.
2. View details
Do you have a private customer plan? If so, please click on “Private”!

The phone settings for businesses are divided into two tabs: Connections and Phone Numbers.
In the Connection Overview, please click on the connection whose details you wish to view.
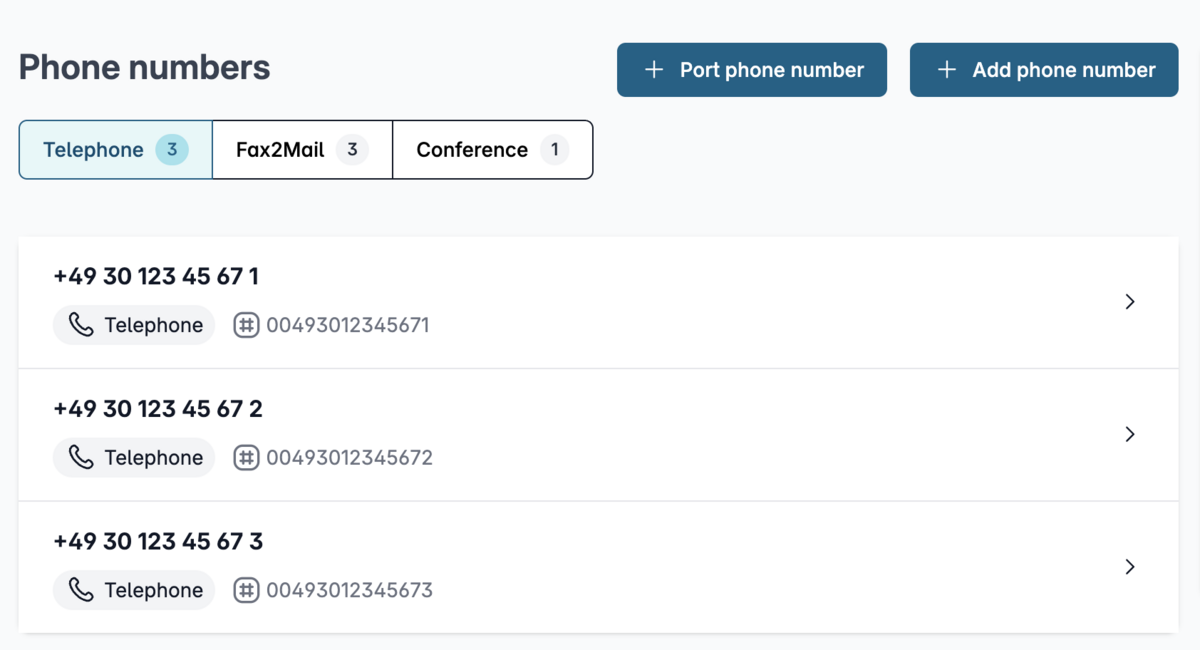
You will see an overview of your telephone numbers.
Please click on the one whose details you wish to view.
3. Open the configuration

In the details view, you will see an overview of the settings.
Please scroll to the "Configuration" section and click the "Change" button to the right of it.
4. Select an answering machine message
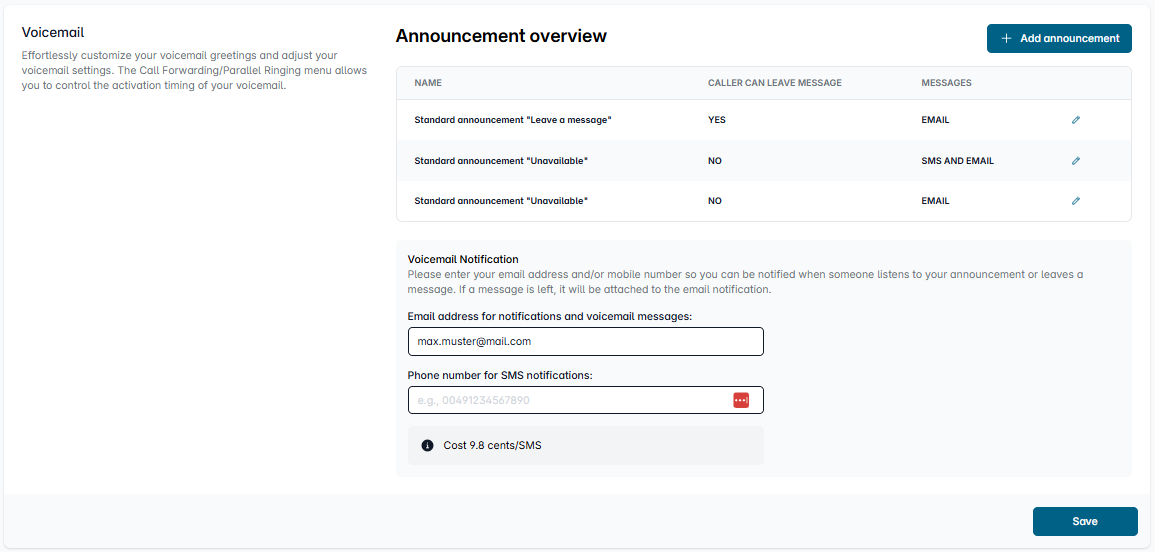
Please scroll down to the “Voicemail” section.
Here you’ll find two default messages. You can also create a custom voicemail message by clicking “Add announcement”.
You should also enter your contact information here so you can be notified of missed calls and receive messages from callers.
4.1. Select Standard Announcements
For standard messages, you can choose between the “Standard announcement (Unavailable)” and the “Standard announcement (Leave a Message).” Each phone number has these two standard messages to choose from.
Standard announcement (Unavailable): Your phone number is announced, but the caller cannot leave a message.
Standard announcement (Leave a Message): Your phone number is also announced, but the caller can leave a message.
Click the pencil icon next to the respective message to set up whether and how you want to be notified about missed calls.
Edit the default message
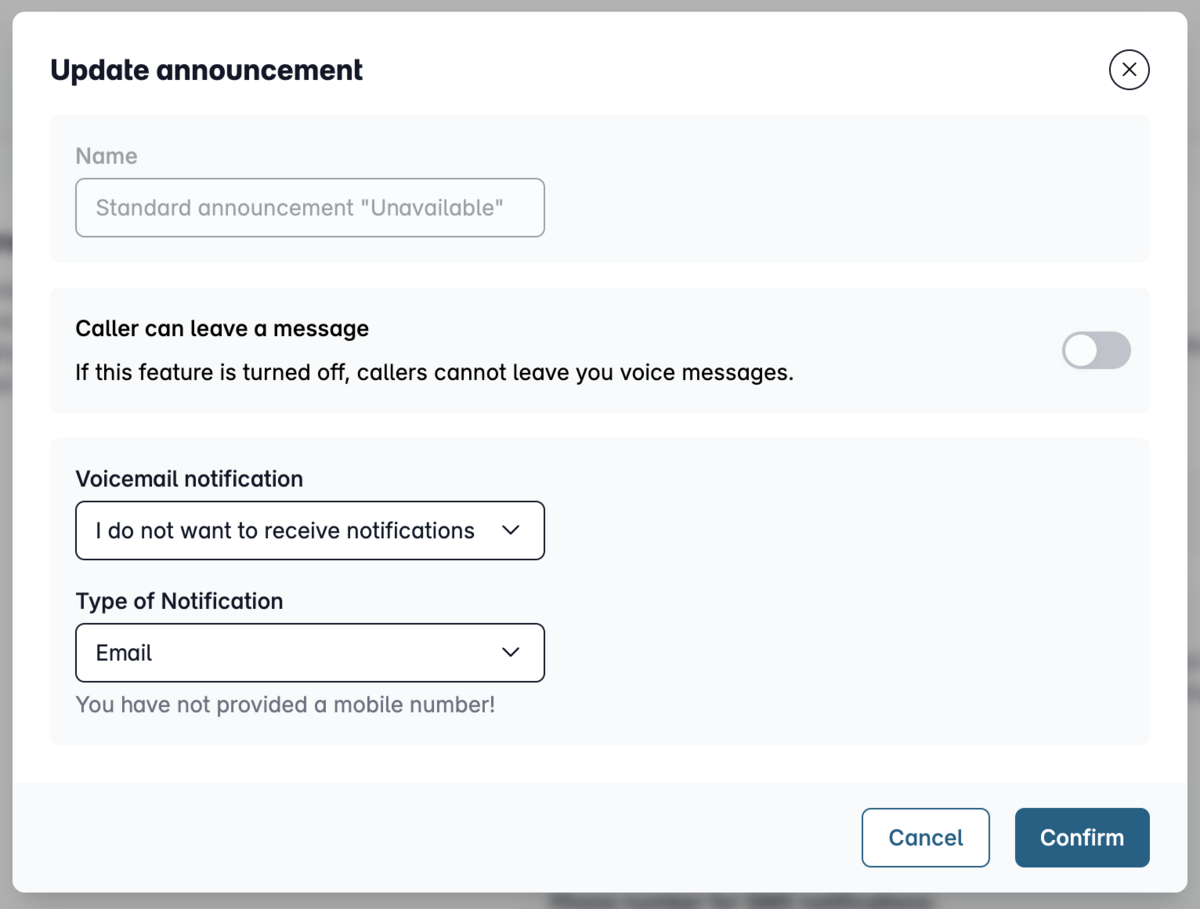
Our example: You have selected the “Standard Announcement (Unavailable).” Specify whether you want to be notified of a missed call and through which communication channel you would like to be informed. The caller does not have the option to leave a message here.
Once you have configured all settings, click “Confirm.”
4.2. Use a personalized announcement
To use your own greeting, click “Add Announcement” instead of the default announcements.
Add an announcement
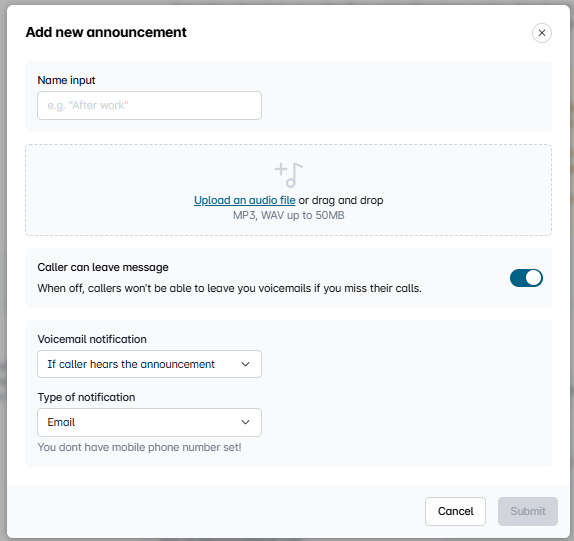
A new window will open. Enter a name for the new greeting here.
Then upload your custom greeting (audio file) from your computer (Note: Only files in MP3 or WAV format up to 50 MB are allowed).
Also specify whether callers can leave a message and how or when you’d like to be notified.
Then click “Confirm.” You will then be redirected back to the previous overview.
5. Save the settings and finish
Please click "Save" here to complete the process. Your new greeting is now saved.
Now all you have to do is set up a voice mail with your greeting.